The Scenes page lists every scene in your project's script breakdown: its number, its setting, its cast, shoot location, length and tagged elements. The quickest way to add a scene is right there: click New Scene, write the scene, and choose whether it also goes into the screenplay.
Where the Scenes page is
Open the project, click Breakdown in the sidebar (the icon of stacked layers), then click the Scenes tile.
The New Scene controls
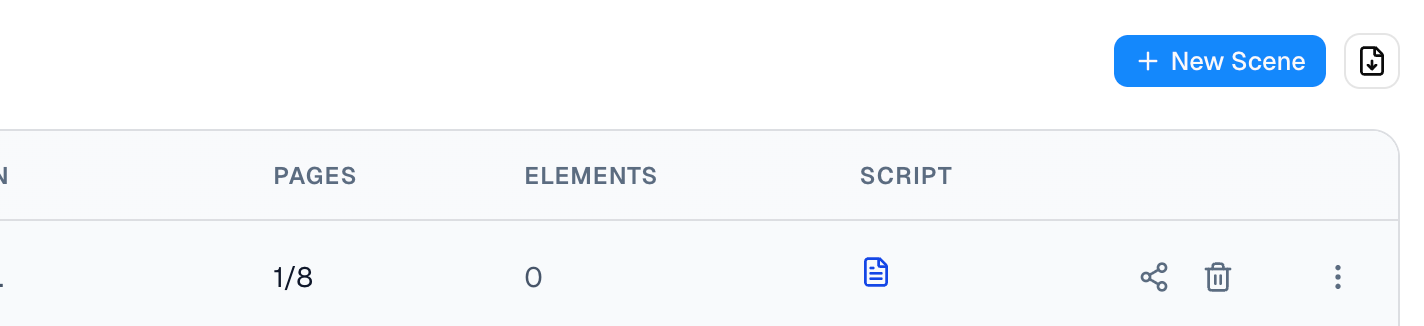
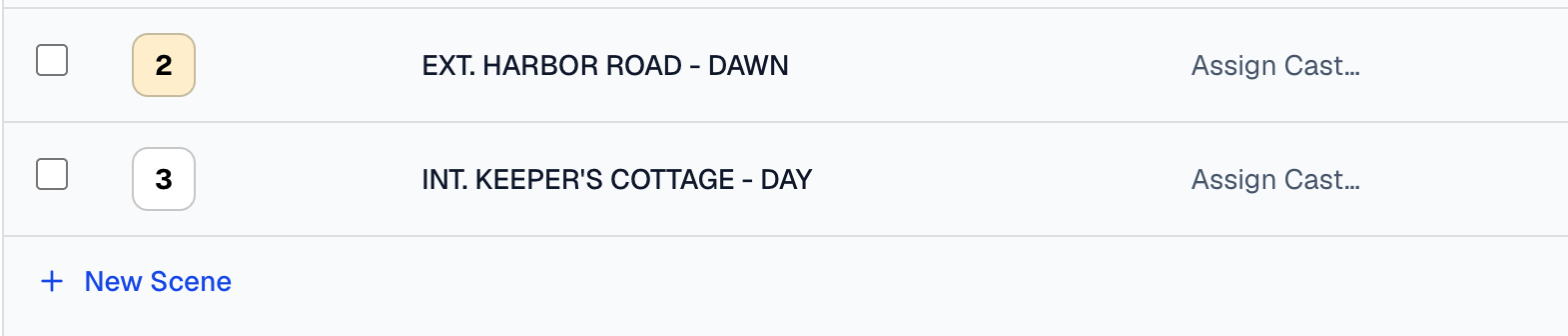
Once the page lists some scenes, two controls add a new one, and they do exactly the same thing:
- the blue New Scene button at the top right, above the table;
- the New Scene link under the last row of the table.
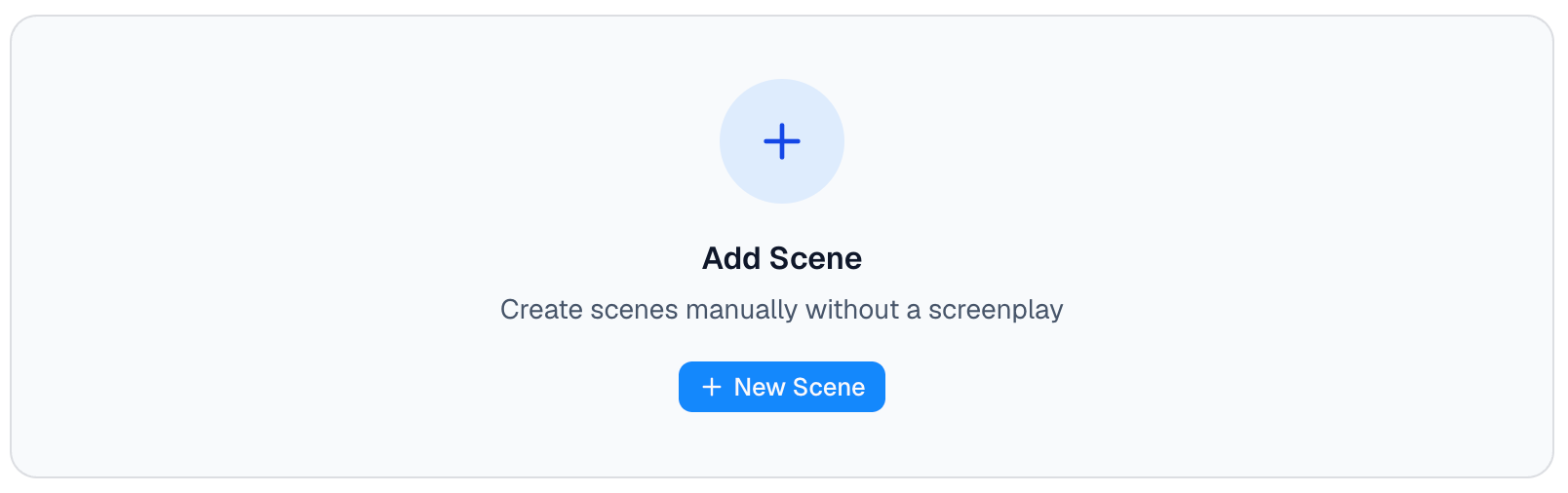
A project with no scenes yet shows two cards instead of the table. Import from your screenplay's title builds the scene list from the script's scene headings. Add Scene has its own New Scene button, which works the same as the other two. Importing, and how scene numbers work, are covered in Scene numbers in Beachwood.
Step 1: Write Scene
Clicking New Scene opens the Write Scene window. It shows Preparing the scene editor… for a moment, then a blank script page.
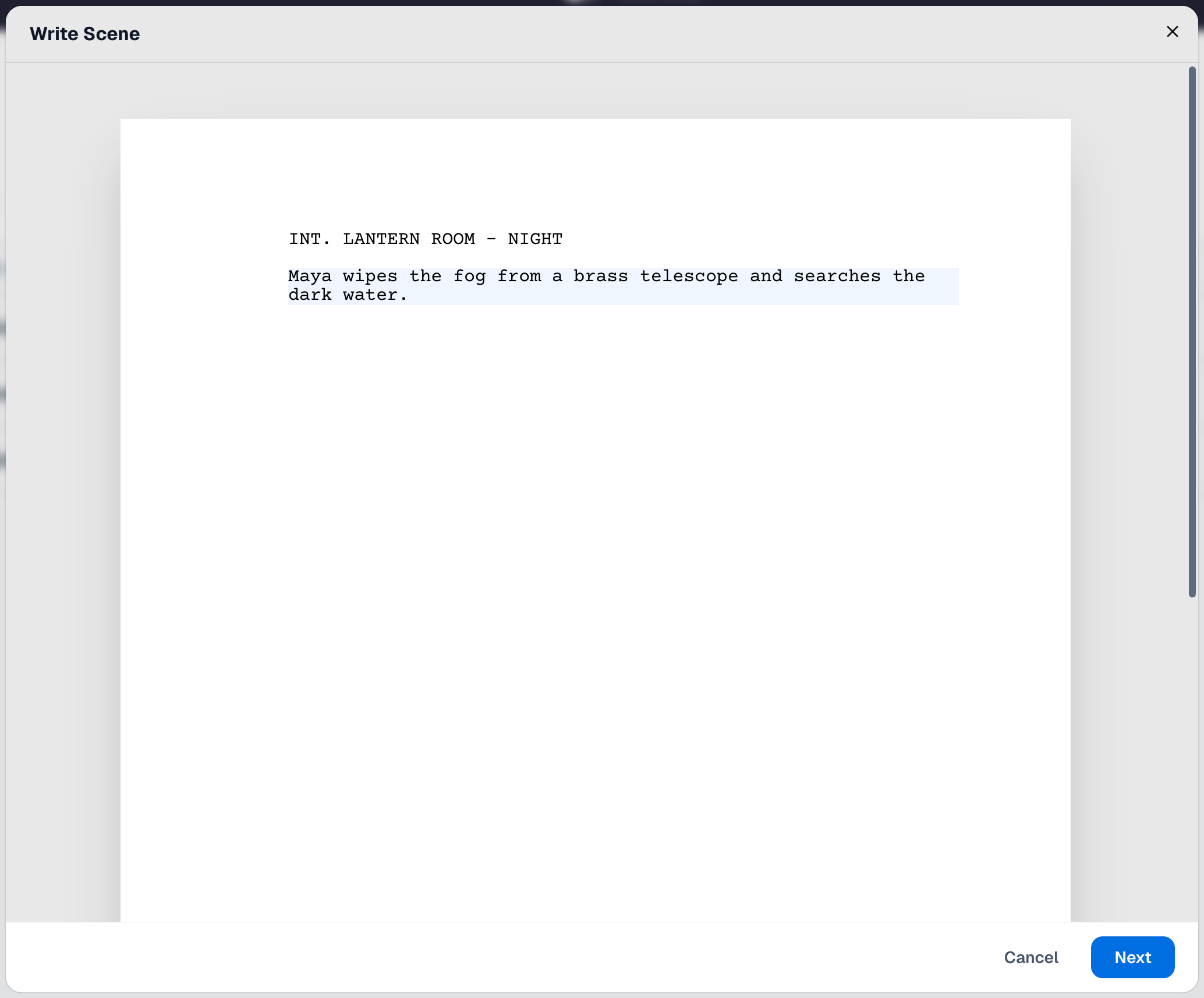
Write the scene the way you would in Beachwood:
- Start with the scene heading. The first line starts as an Action line, but typing INT. or EXT. turns it into a Scene Heading. The scene heading becomes the scene's setting on the Scenes page.
- Press Return for each new line. ⌘⇧E (Ctrl+Shift+E off a Mac) changes the kind of line, the same as in the editor.
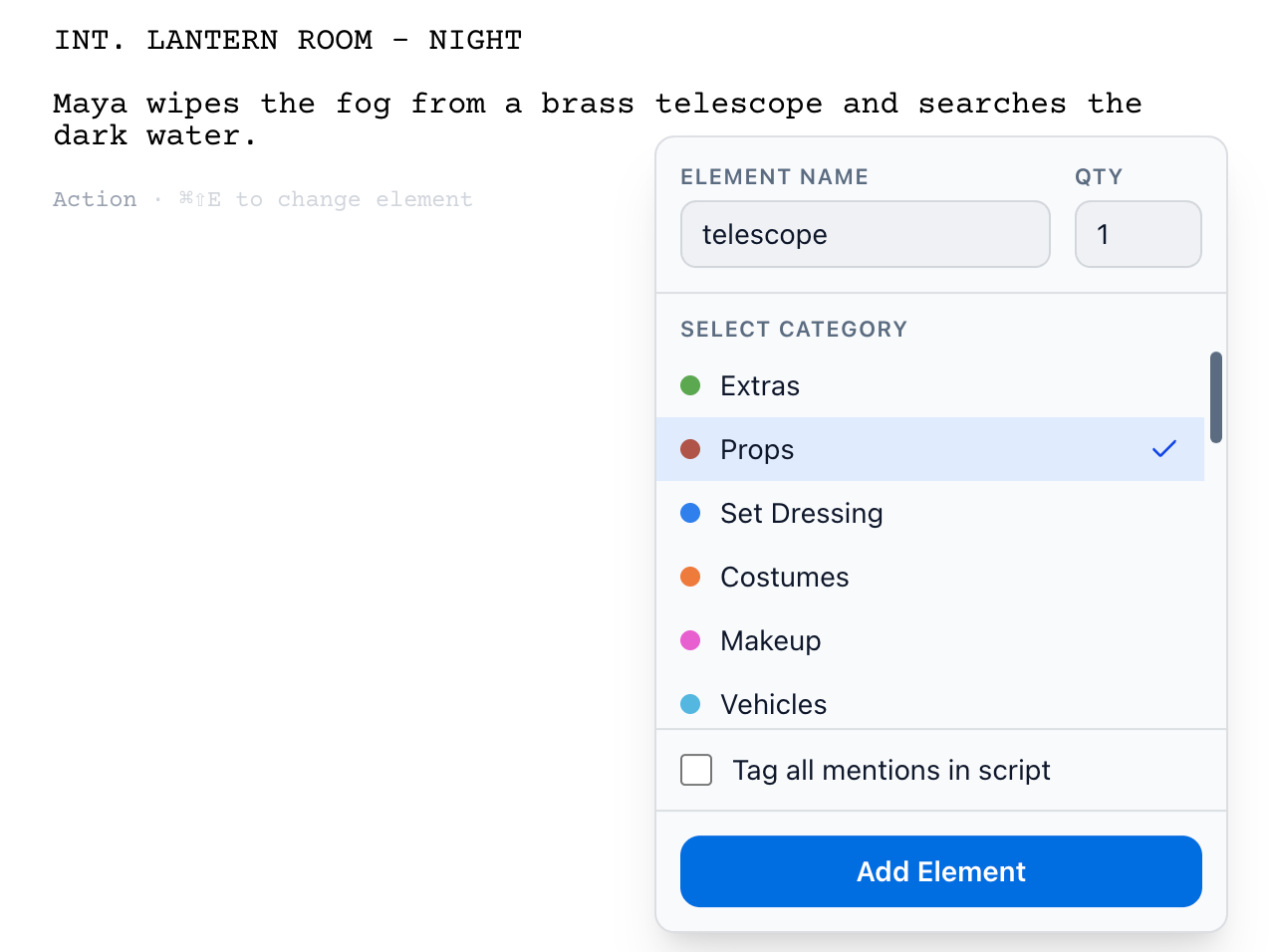
Tag props, costumes and other elements as you write. Finish the line first: click below the text, or start the next line. Then right-click a word. A small window opens:
- Element Name is filled in with the word. Change it if you like.
- QTY is how many of it the scene needs.
- Select Category: choose one, such as Props or Costumes.
- Tag all mentions in script also tags the same word everywhere else in the screenplay.
Click Add Element. The word is highlighted in the scene. The element is created when you save the scene, and the scene's Elements count includes it.
When the scene is written, click Next.
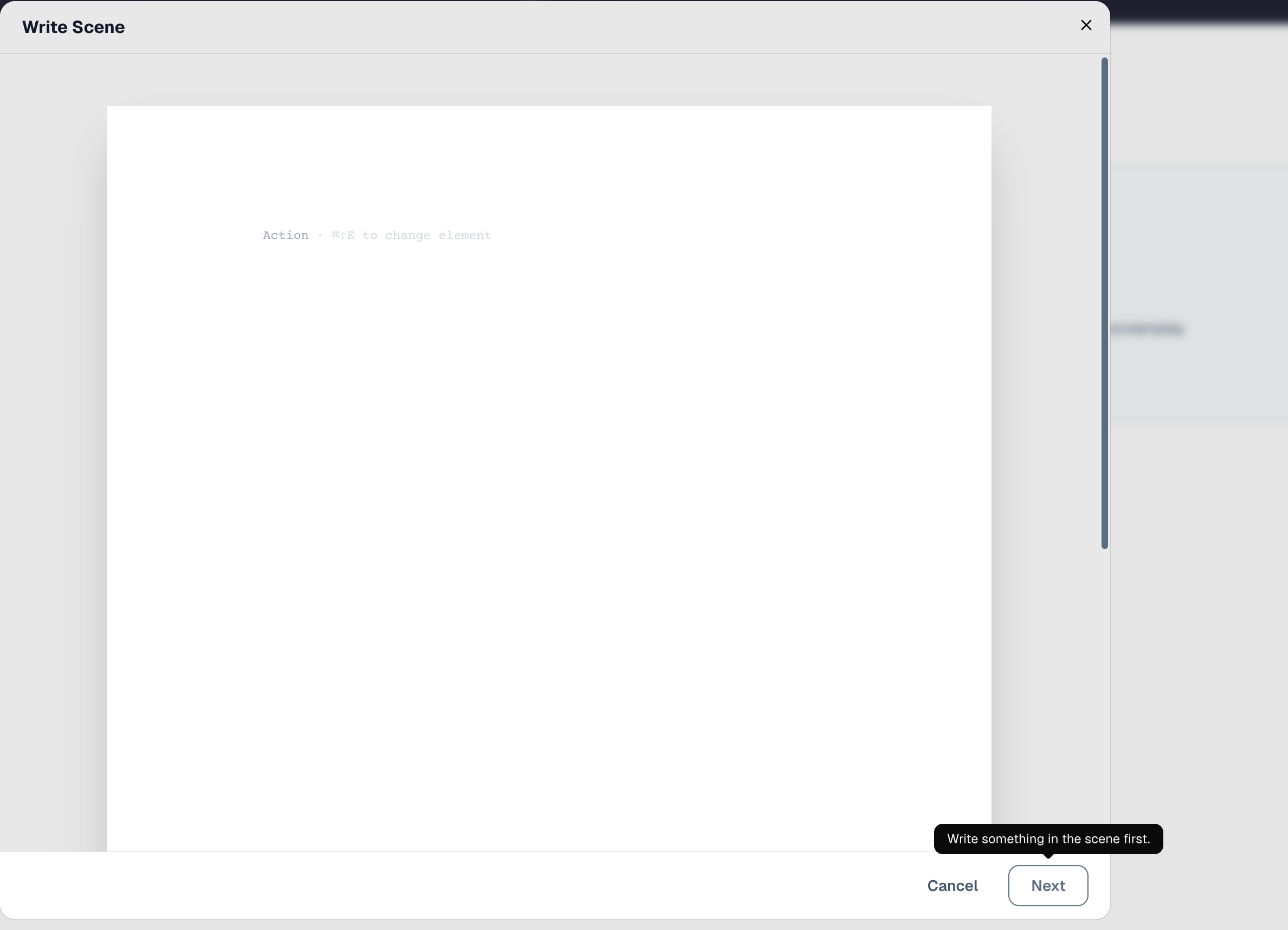
Next stays grayed out until the scene has something written in it. Point to it, or press Tab until it's selected, and a note says Write something in the scene first. Clicking it does nothing yet. As soon as you type, even just the scene heading, Next can be clicked. If you erase everything, it grays out again.
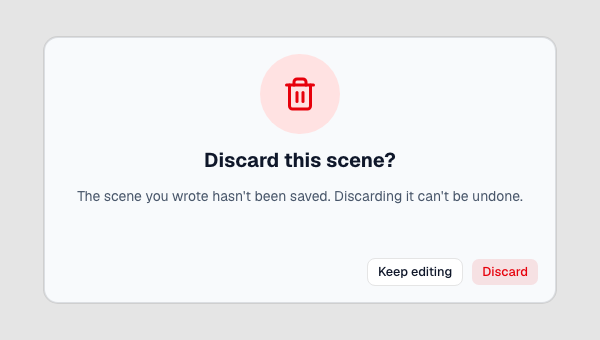
Cancel and the ✕ close the window and throw away what you wrote, but if you've written anything, a window asks first: Discard this scene? Click Keep editing to go back to your scene, or Discard to throw it away. A scene with nothing written in it closes without asking. Pressing Esc or clicking outside the window does nothing, so a stray click can't lose your work.
Changing a scene that's already on the Scenes page (its ⋮ menu → Preview Scene → Edit Script) works the same way, with one difference: Cancel asks Discard your changes? only if you changed something. The scene stays as it was. If you only looked at it, the window closes without asking. The arrows beside the scene number, which move to the previous or next scene, keep your changes.
Step 2: Update Screenplay
The Update Screenplay window asks: Do you want to add this scene to the screenplay?
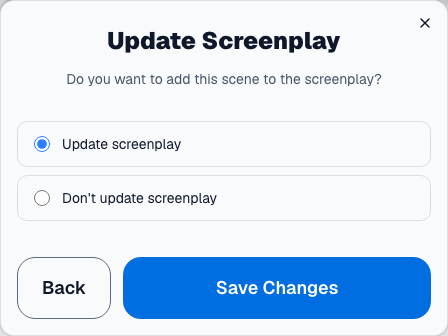
- Update screenplay (already selected) adds the scene to the Scenes page and to the screenplay.
- Don't update screenplay adds it to the Scenes page only. The script doesn't change.
Click Save Changes. The window closes and the scene appears on the Scenes page. No message appears to confirm it.
To change the scene before saving it, click Back. The Write Scene window opens again with the scene as you left it. Click Next when you're done, and choose again.
This window's ✕ throws away the scene you wrote. It asks Discard this scene? first, the same as in the Write Scene window.
If you can edit the project but only view the screenplay, choosing Update screenplay opens an Edit access required window instead of saving. Click Request edit access to ask the screenplay's owner, or close it and choose Don't update screenplay.
Where the new scene appears and its number
The new scene gets the next scene number: one more than the highest number in the project. After scenes 1 to 3 the new scene is 4, and the next one is 5. It appears at the bottom of the table.

- Gaps aren't filled. If your scenes are 1, 2 and 5, the new scene is 6.
- With Update screenplay, the scene is added to the script after the scene numbered just below it. Usually that's the end of the script, and the number appears in the margins when you show scene numbers.
- To add a scene between two others (scene 2A between 2 and 3), use Add Scene Under in the scene's ⋮ menu instead. It's described in Scene numbers in Beachwood.
A scene you didn't add to the screenplay
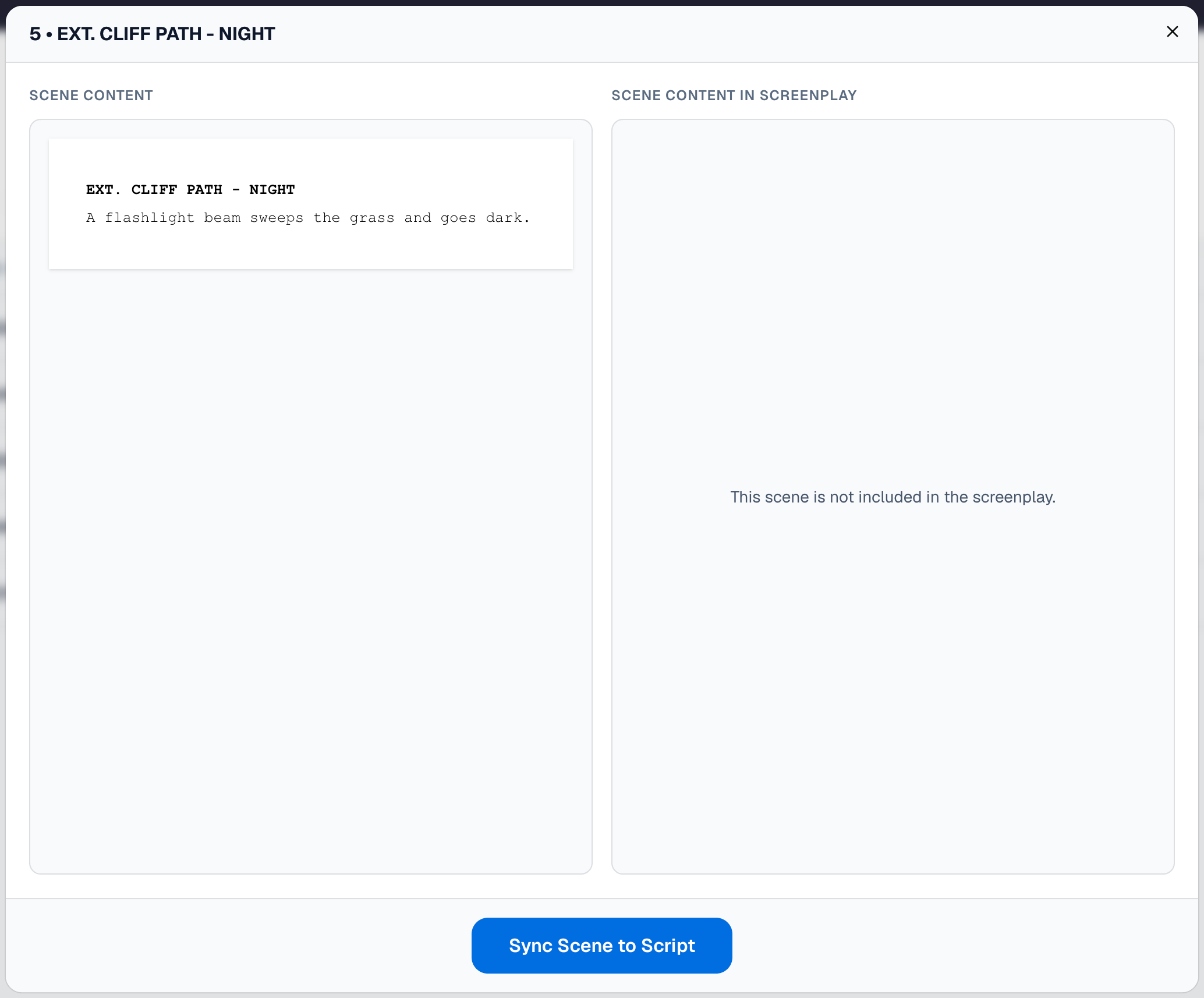
A scene saved with Don't update screenplay shows a broken-link icon before its setting, and a dash in the Script column. The icon means the scene isn't in sync with the screenplay.

Click the icon to compare the scene with the screenplay. The left side shows the scene you wrote. The right side says This scene is not included in the screenplay. Click Sync Scene to Script to add it to the script, or close the window to leave it out.
Unsubmitted scenes
Beachwood saves what you type in the Write Scene window as you go. If you leave without clicking Cancel or Save Changes (you close the tab, say, or the browser quits), the scene isn't lost. The next time you open the Scenes page, an Unsubmitted scenes panel above the table lists it, with its scene heading and the date you last edited it.

- Open brings the scene back in the Write Scene window. Finish it and save it as usual. Here Cancel closes the window and keeps the scene in the panel.
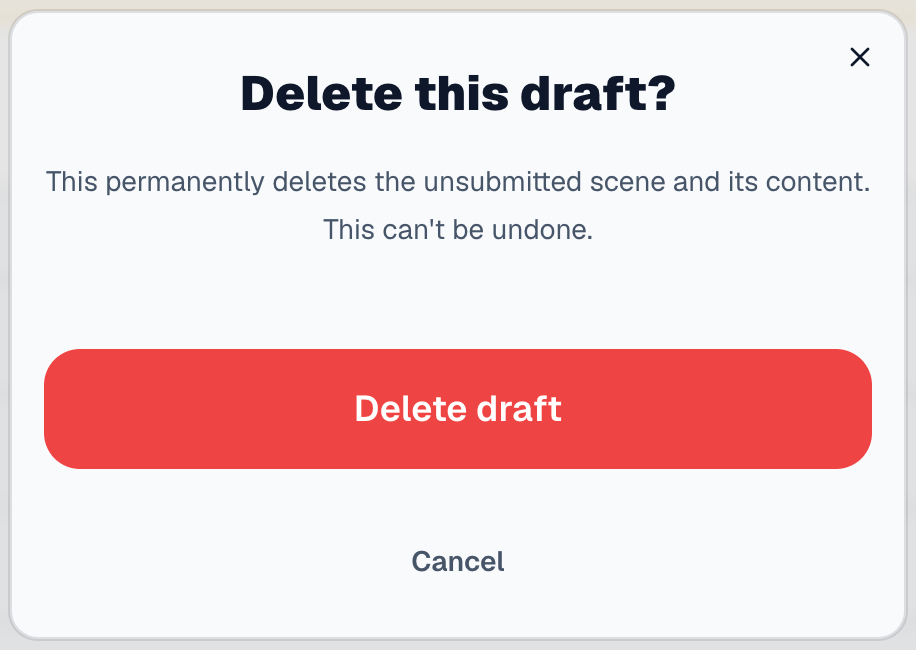
- The trash icon deletes it. A window, Delete this draft?, asks first, because this can't be undone. Click Delete draft to delete it, or Cancel to keep it.
Only you see your unsubmitted scenes. Other people on the project don't.
Who can add a scene
You need edit access to the project: the project's owner, or a member invited as an editor.
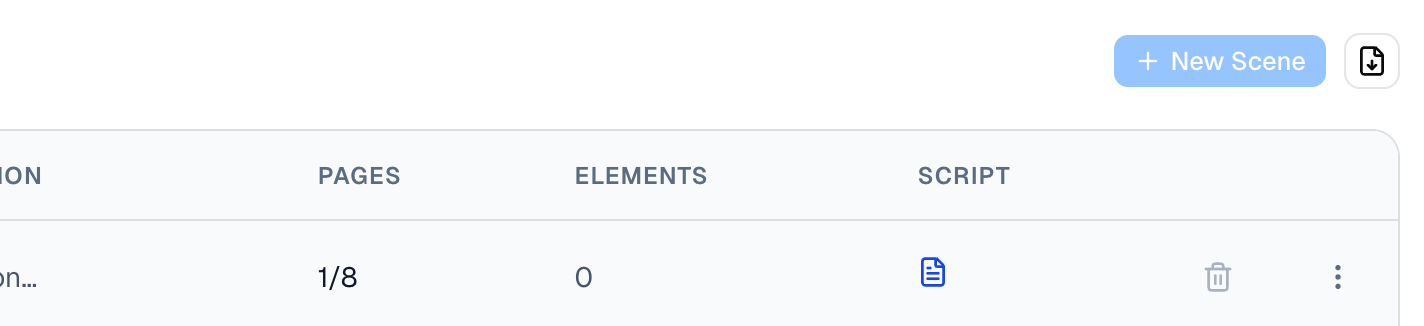
A viewer sees the Scenes page but can't add scenes. The New Scene button at the top right is faded, and neither New Scene control does anything when clicked. The New Scene link under the table isn't faded, but it does nothing for a viewer either. To add scenes, ask the project's owner for editor access.
If something goes wrong
- Couldn't open the scene editor. Please try again. The Write Scene window couldn't start. Close it and click New Scene again.
- Couldn't save the scene. Please try again. appears in the Update Screenplay window when the scene couldn't be saved. Click Save Changes again.
- This scene has nothing written in it yet, so it can't be saved. Close this window and write the scene again. An empty scene can't be saved. Next is grayed out until you write something, so you'll rarely see this. Trying again won't help: close the window with its ✕ and start over.
More about scenes
Scene numbers in Beachwood covers the rest of the Scenes page: importing scenes, Add Scene Under, Duplicate Scene, omitting a scene and bringing it back with Reactivate, and why numbers can have letters and gaps.