Project Contacts is the list of everyone working on a production: crew, talent, extras and clients, with their email, phone, rate and notes. Each project has its own list. A contact can come from your company's contacts, so you enter a person once and reuse them on every production, or be added to one project only.
Getting there
Open a project: the folder icon (Projects) in the sidebar, then the project. In the project's sidebar, choose the Plan icon. The Plan page shows four tiles: Departments, Project Contacts, Calendars and Media Library. Choose Project Contacts.
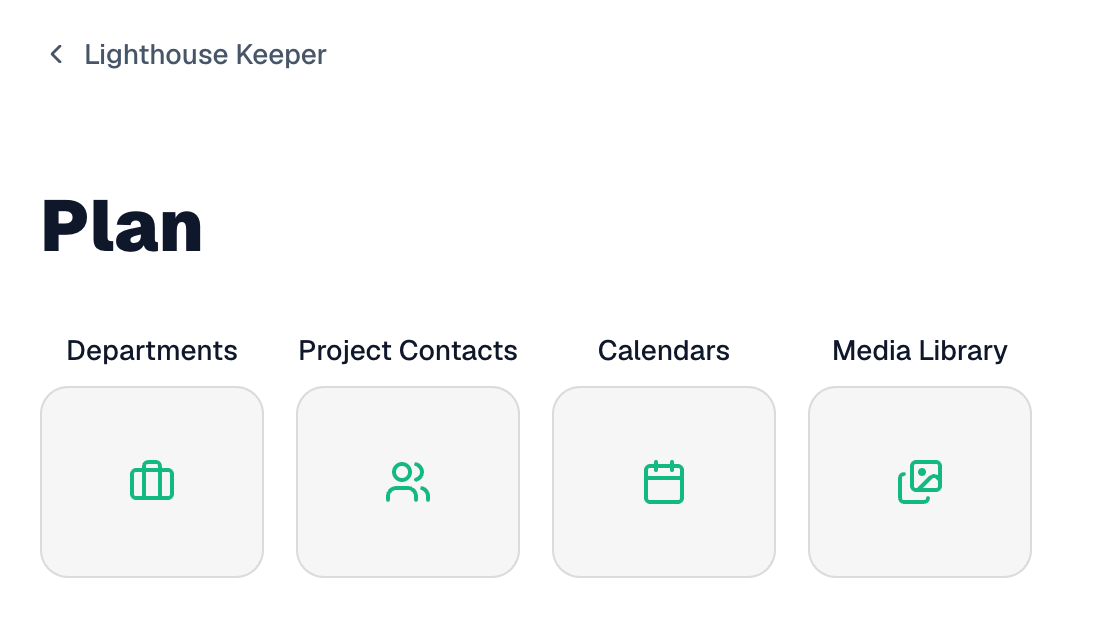
The page that opens is titled Contacts. The link above the title, with the project's name, takes you back to the project.
A new project starts with no contacts. The page says "No contacts added yet." and offers Add your first contact.
The contacts page
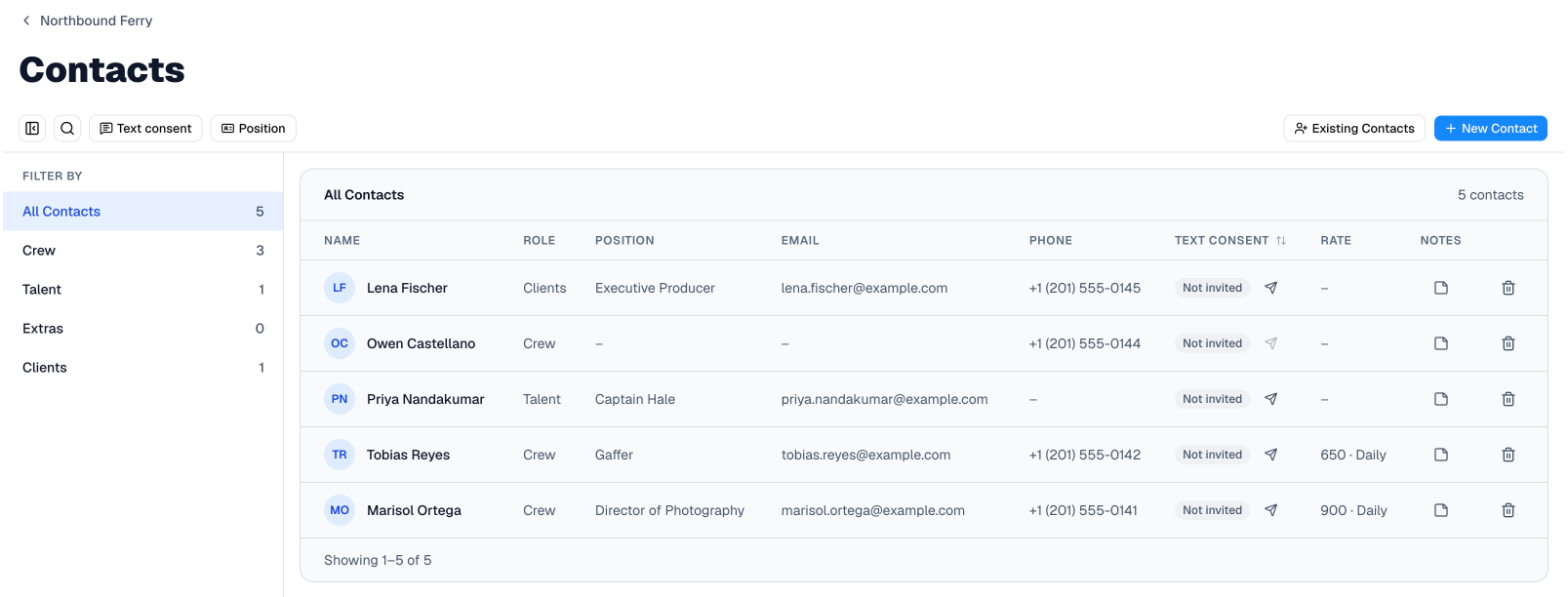
The table has a row for each contact:
- Name, with a circle showing the person's initials (or their photo).
- Role: Crew, Talent, Extras or Clients.
- Position: their job on this production, such as Gaffer, or the character they play.
- Email and Phone.
- Text consent: whether you can send this person text messages. See Text consent below.
- Rate: the amount and its type, such as "700 · Daily".
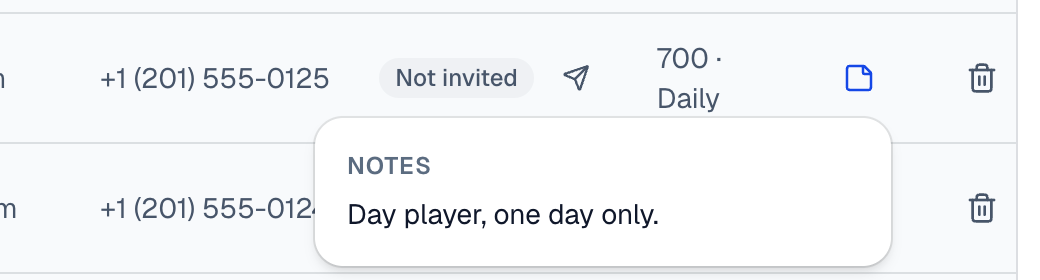
- Notes: a note icon. A blue icon means the contact has a note; click it to read the note. A gray icon means there's no note yet; click it to add one.
A dash (–) in a cell means there's nothing there yet: a contact with no position, email, phone or rate shows a dash in that column. A screen reader reads it as "None".
Click anywhere else on a row to open the contact and edit it.
The most recently added or changed contacts are at the top.
Filter By
The Filter By panel on the left shows one role at a time: All Contacts, Crew, Talent, Extras or Clients. Each has a count beside it. The counts follow your search and any other filters, so they always say how many you'd see if you picked that role.
The panel button at the far left of the toolbar hides and shows the panel.
More than 25 contacts
The table shows 25 contacts at a time. Below it you'll see which ones are showing, such as "Showing 1–25 of 27", with Previous, the page numbers and Next.

Editing a contact keeps you on the page you're on. Adding a contact takes you back to the first page, where the new contact is.
Adding a new contact
Choose New Contact in the toolbar. The Create New Contact window opens.
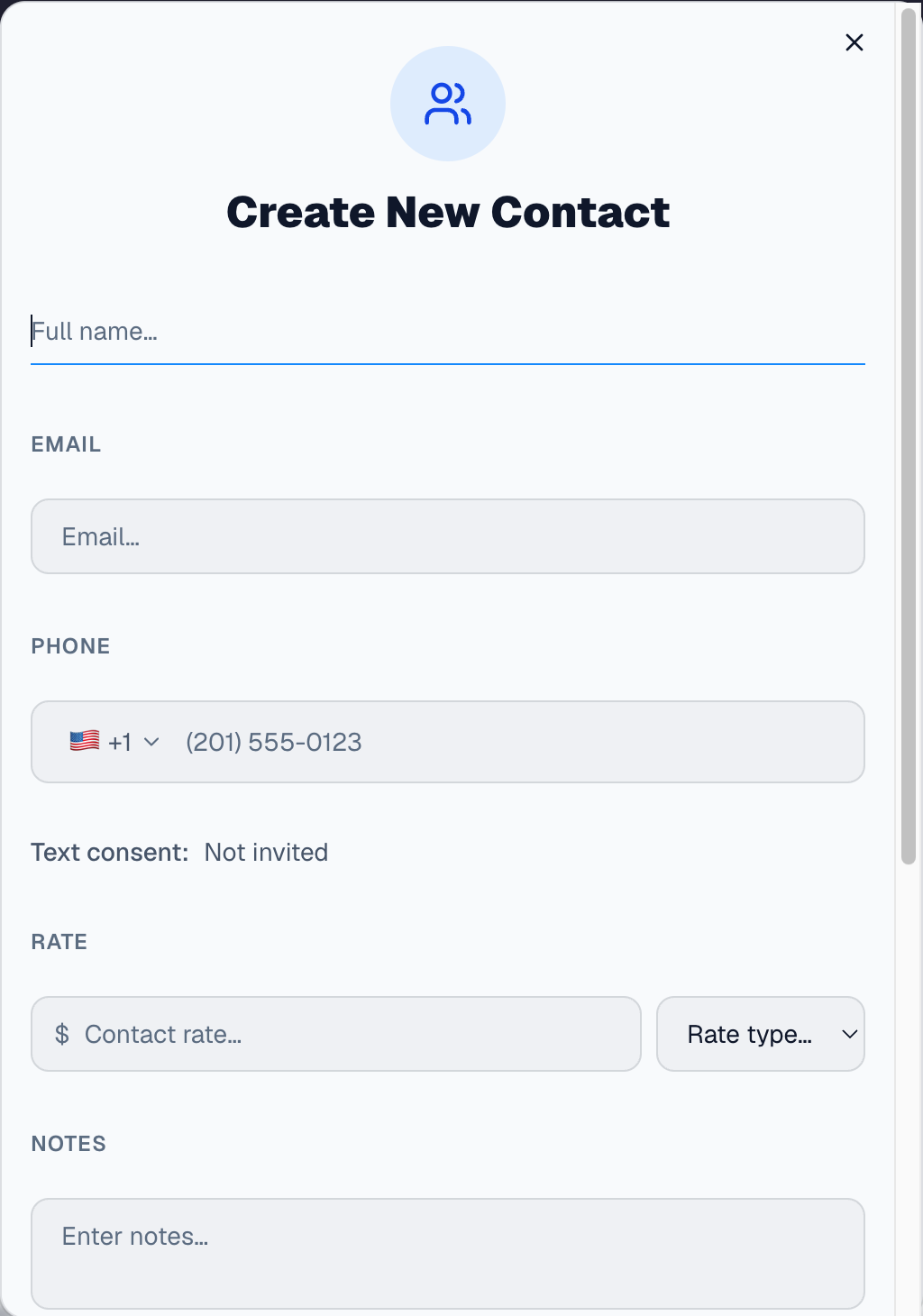
- Full name is the only field you must fill in. Both save buttons stay grayed out until it has something in it.
- Email and Phone. The phone number starts in the United States; choose the flag to pick another country.
- Text consent shows "Not invited" for a new contact. You can't change it here. See Text consent.
- Rate: an amount, and a rate type: Contract, Daily or Hourly.
- Notes: anything your team should know.
- Roles: pick Crew, Talent, Extras or Clients, then fill in the position. For Crew, the position box suggests the job titles already used on this project. For Talent and Extras it's the role they play; for Clients, their job title. To give the person a second role, choose Assign Another Role.
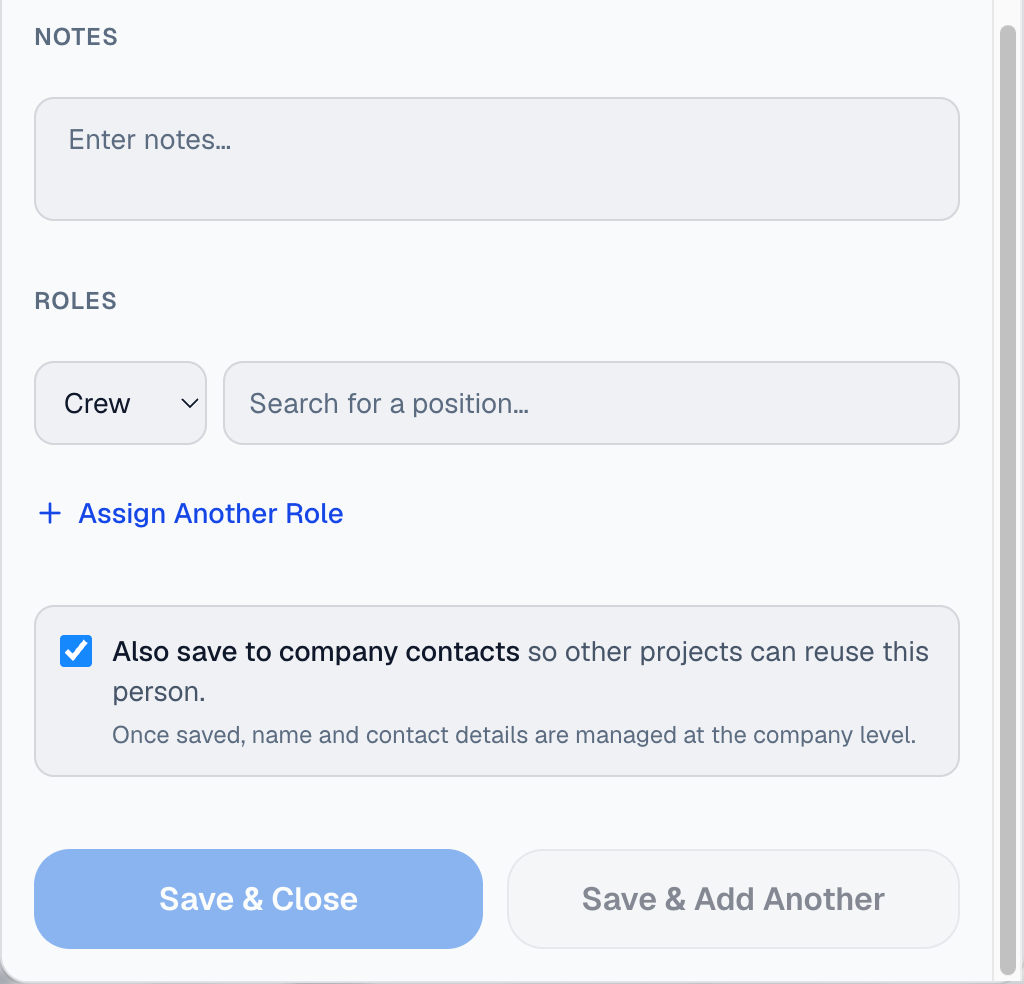
Also save to company contacts so other projects can reuse this person. This box is ticked when the window opens.
- Leave it ticked to add the person to your company's contacts as well as this project. You can then add them to other productions from Existing Contacts. Their name, email and phone are then kept at the company level (see Editing a contact).
- Untick it to add them to this project only. Nobody else in your company's other productions will see them.
You can't change this choice later: the box only appears when you create a contact.
Then choose:
- Save & Close to add the contact and close the window.
- Save & Add Another to add the contact and empty the form for the next person.
Adding people from your company's contacts
Choose Existing Contacts in the toolbar. The Add Existing Contacts window lists the people in your company's contacts who aren't on this project yet, with their name and email.
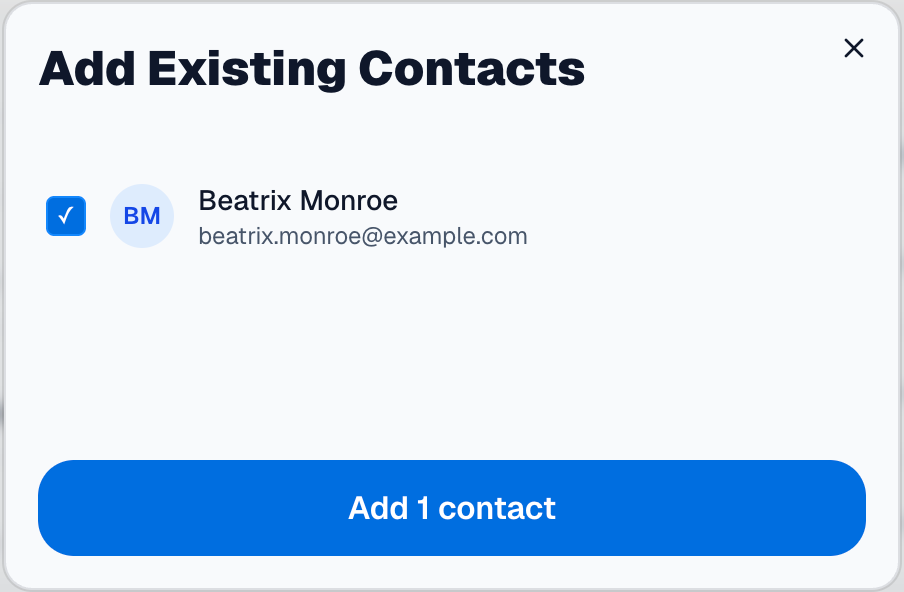
Tick everyone you want, then choose the button at the bottom, which counts them: Add 1 contact, Add 2 contacts and so on.
They arrive with the roles they have in your company's contacts. Their rate is empty: set it for this production by editing them.
People added to another project only are never listed here.
If you can only view this production
If you were invited to the project as a viewer, you can see the contacts, but you can't add any. Existing Contacts and New Contact are grayed out, and nothing happens when you click them. Hold the pointer over either one, or move to it with the Tab key, to see why: "You can view this production's contacts, but only its editors can add them." When the project has no contacts yet, the page says "No contacts added yet." with no button to add the first one.

To add contacts, ask the company owner or the person who created the project to invite you as an editor.
Editing a contact
Click a contact's row. The Edit Contact window opens with everything you entered. Change what you need and choose Save Changes.
A contact from your company's contacts
For a person who's in your company's contacts, some details belong to the company and some belong to this production.
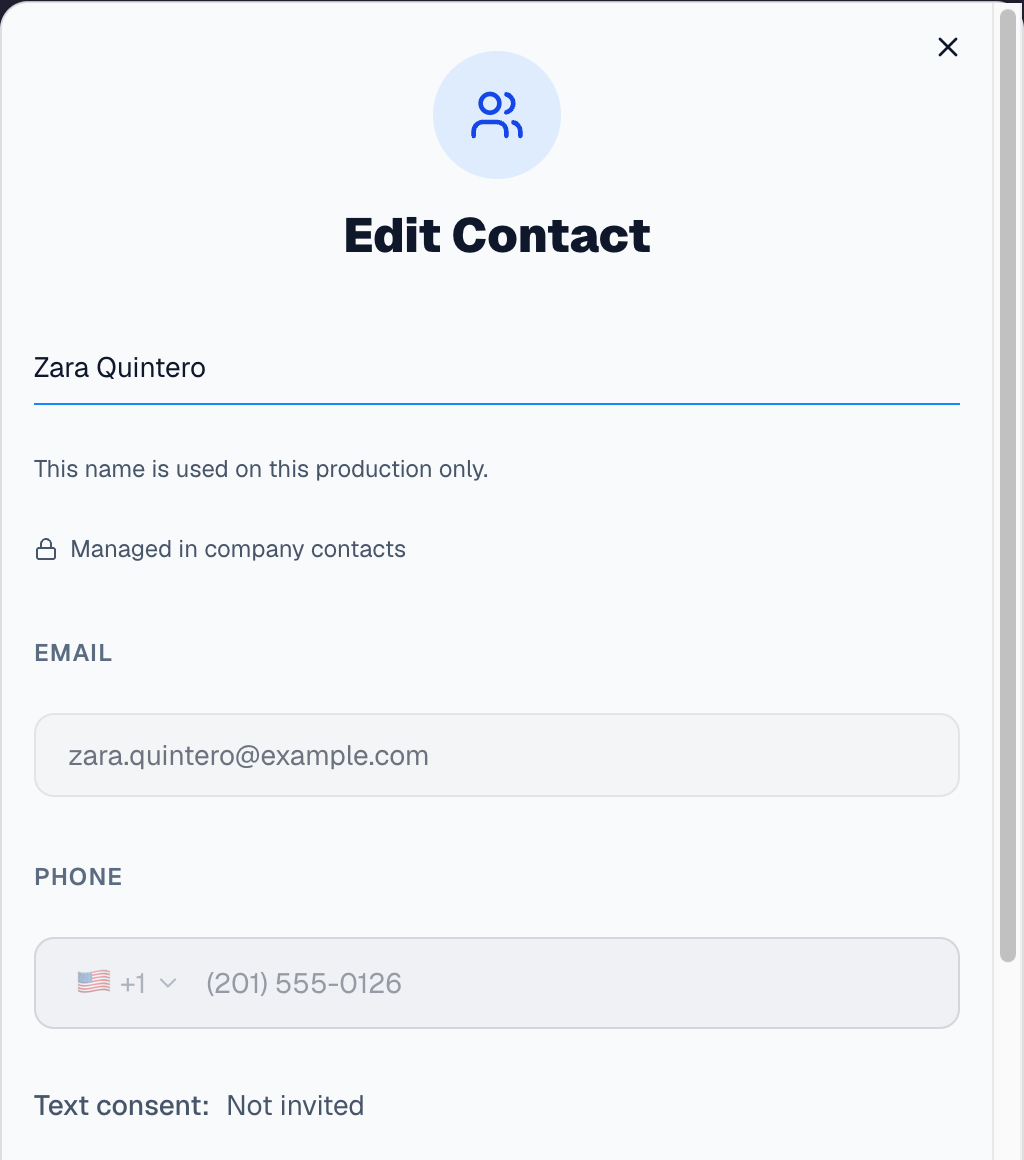
- Email and phone are grayed out. They're kept in your company's contacts, so they're the same on every production. Change them on your company's Contacts page.
- The name and the note can be changed for this production only. The window says so under each: "This name is used on this production only." Your company's contacts, and your other productions, keep the original.
- Rate and roles belong to this production.
After you give a person a different name on this production, opening them again shows "Using a custom name for this production." with a Reset to the company name link. The note works the same way, with Reset to the company note.
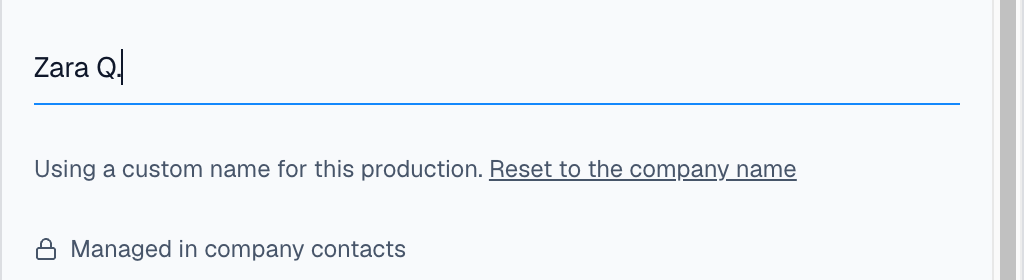
Choosing Reset to the company name empties the box. That's expected: when you save, the production goes back to using the company's name for this person. The same goes for the note.
A contact added to this project only
Everything can be changed, including email and phone, and there's no lock line.
Finding contacts
Search
Choose the magnifier in the toolbar and type in the box ("Search by name, email or phone…"). The table shows the contacts whose name, email or phone matches.
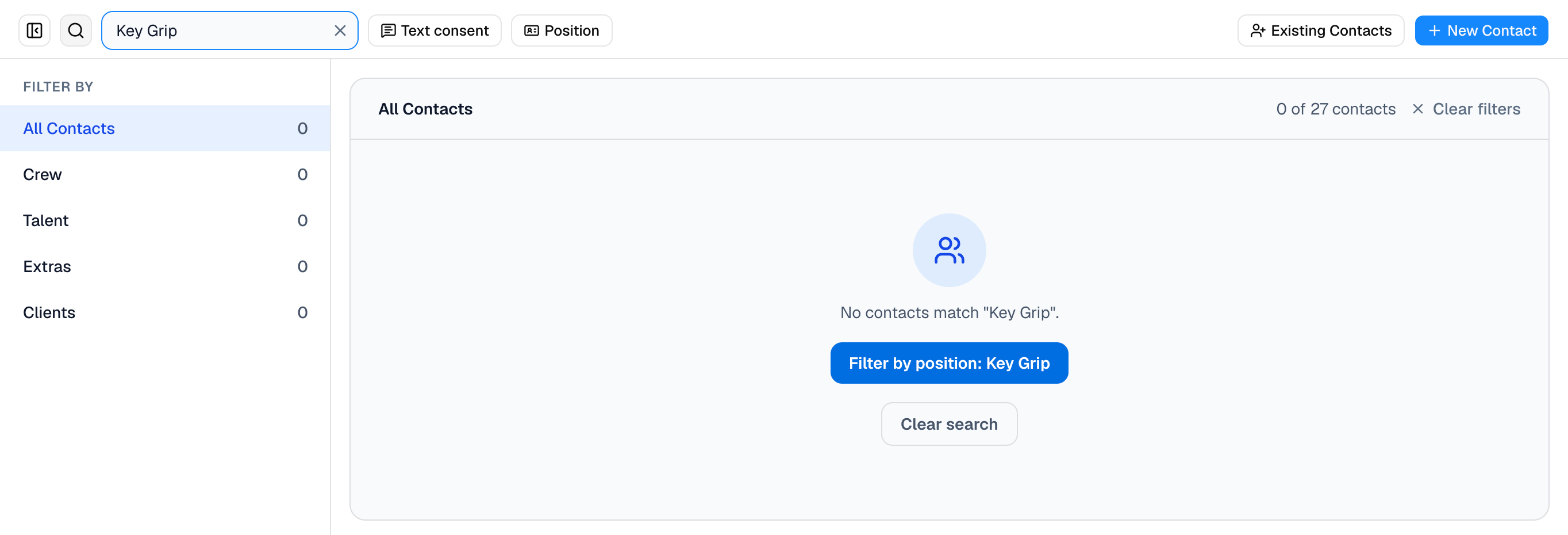
Search doesn't look at positions. If you type a full position name, such as "Key Grip", and nobody's name, email or phone matches it, the page offers a Filter by position: Key Grip button. Choose it to show everyone with that position.
By position
Choose Position in the toolbar and tick one or more positions. The button shows how many you've ticked, such as Position (1).
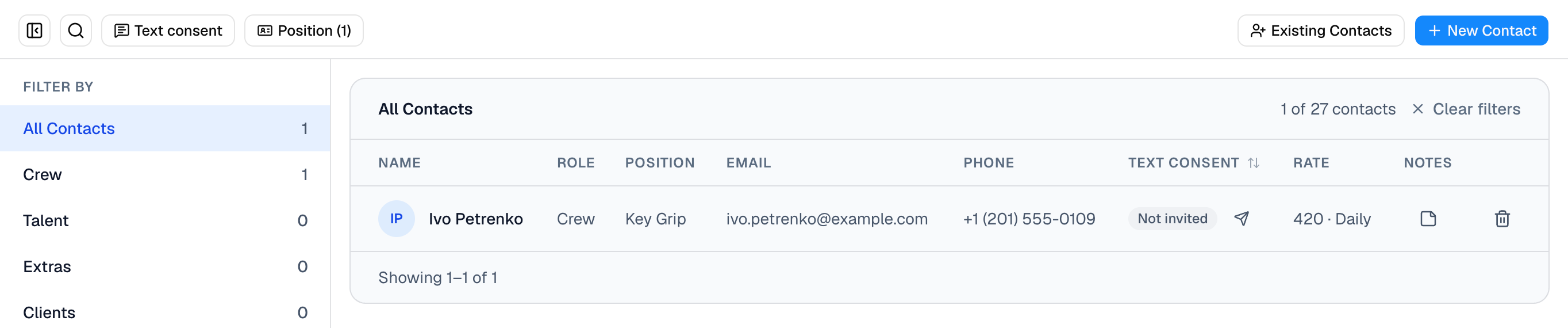
While any filter or search is on, the line above the table says how many contacts you're seeing out of the total, such as "1 of 27 contacts". Choose Clear filters beside it to see everyone again.
By text consent
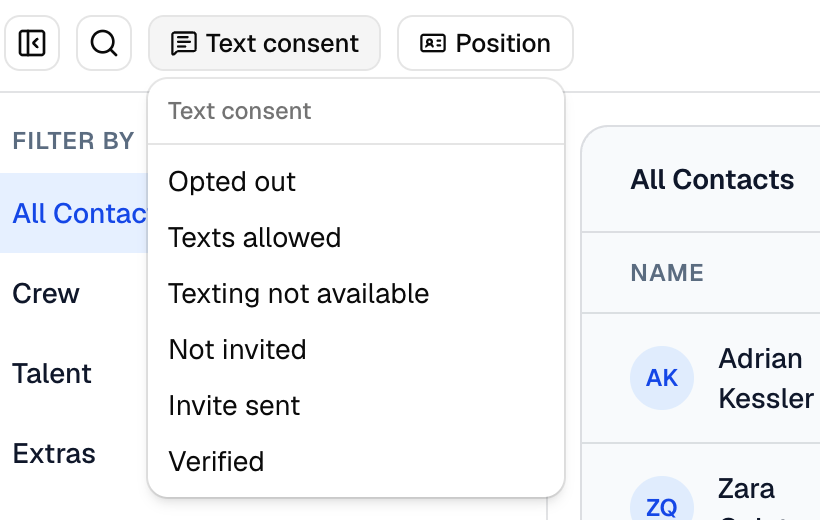
Choose Text consent in the toolbar and tick the statuses to show: Opted out, Texts allowed, Texting not available, Not invited, Invite sent or Verified. You can tick more than one.
In a narrow window
When the window is narrow, the toolbar buttons show their icons only: the panel button, the magnifier (search), a speech bubble (Text consent), an ID card (Position), a person with a plus sign (Existing Contacts) and a plus sign (New Contact). The table scrolls sideways.
Hold the pointer over any toolbar button, or move to it with the Tab key, and a short label says what it does, at any window width: for example "Filter by text consent" or "Add a new contact to this production". The panel button says "Hide the filters panel" or "Show the filters panel", depending on whether the panel is open.

Text consent
Before your production sends someone text messages, such as call sheets, they have to agree to receive them. The Text consent column shows where each person is:
- Not invited: nobody has asked them yet.
- Invite sent: they've been asked and haven't answered.
- Verified, Texts allowed, Opted out or Texting not available once they've answered, or if texts can't be sent to their number.
To ask someone, choose the paper plane beside their status. They get an email asking them to confirm their details for your production, with a code that works for 72 hours and a Confirm my details button. Confirming the code proves their email address; agreeing to texts is a separate, optional step for them.
Their status changes to Invite sent, and the paper plane then sends the request again. A short "Invite sent." message confirms it below the table, so on a long list you may need to scroll down to see it.
Only the company's owner can send these requests.
To sort by consent, choose the Text consent column heading. The first click puts Verified first; the second puts Opted out first.
Removing a contact
Choose the trash can at the end of the contact's row. What happens depends on where the contact came from, and the window tells you which before anything changes.
A contact from your company's contacts. The window asks "Remove name from this project?" and explains that they stay in your company's contacts, so you can add them back at any time from Existing Contacts. Choose Remove.
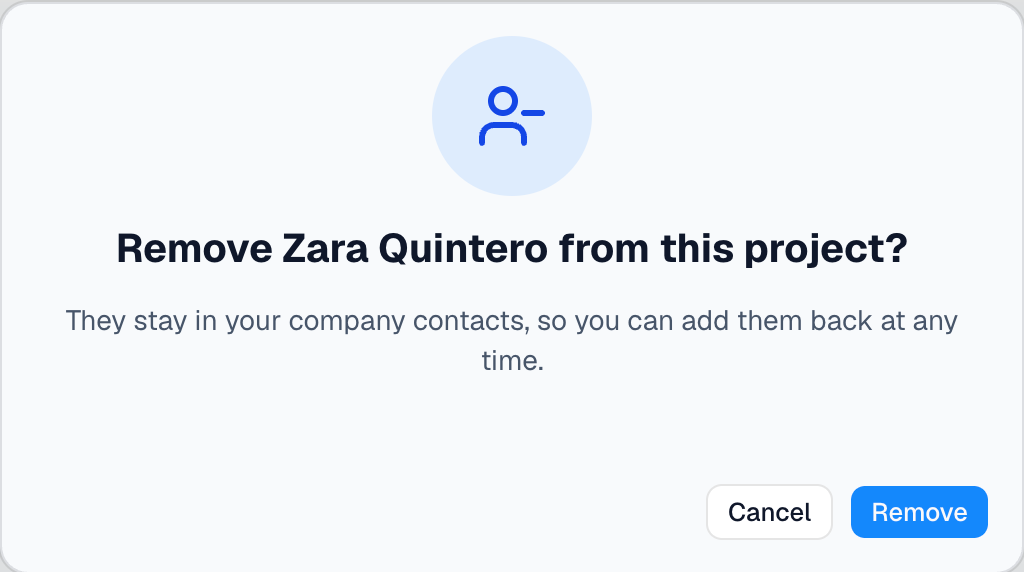
A contact added to this project only. The window has a red trash can and warns that the contact exists only on this project, so removing them deletes their details permanently and can't be undone. The Remove button is red.
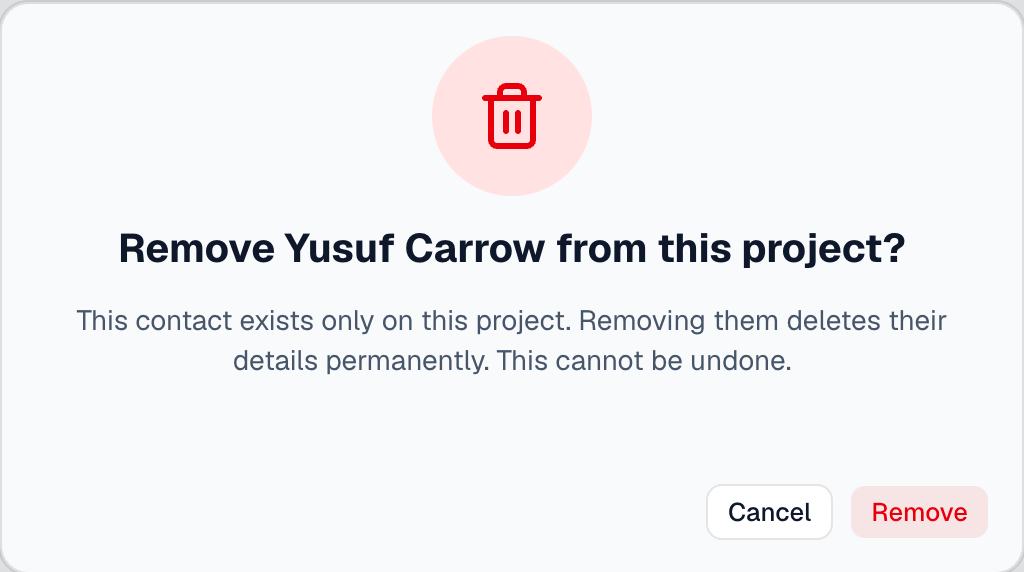
Choose Cancel in either window to keep the contact.
Things that may surprise you
The page is titled "Contacts". The tile on the Plan page says Project Contacts, but the page itself is headed Contacts. It's the same page.
The table doesn't show which contacts are company contacts. A company contact and a project-only contact look the same in the list. Open the contact (a lock line saying "Managed in company contacts" means it's from the company) or choose its trash can (the window says which it is, and you can cancel).
The Rate column has no dollar sign. The form shows "$" beside the amount; the table shows just the number and the rate type.
Once you sort by Text consent, the table stays sorted that way. Clicking the heading switches between Verified first and Opted out first. To go back to the most recently changed contacts first, leave the page and come back.
Existing Contacts has no search. It lists everyone in your company's contacts who isn't on the project yet, by name and email, so with a large company list you'll need to scroll.
Clicking a contact's initials opens the upload window. It's for uploading a photo of the person: drag one in, or choose browse files to upload, then Insert. To edit the contact, click elsewhere on the row.